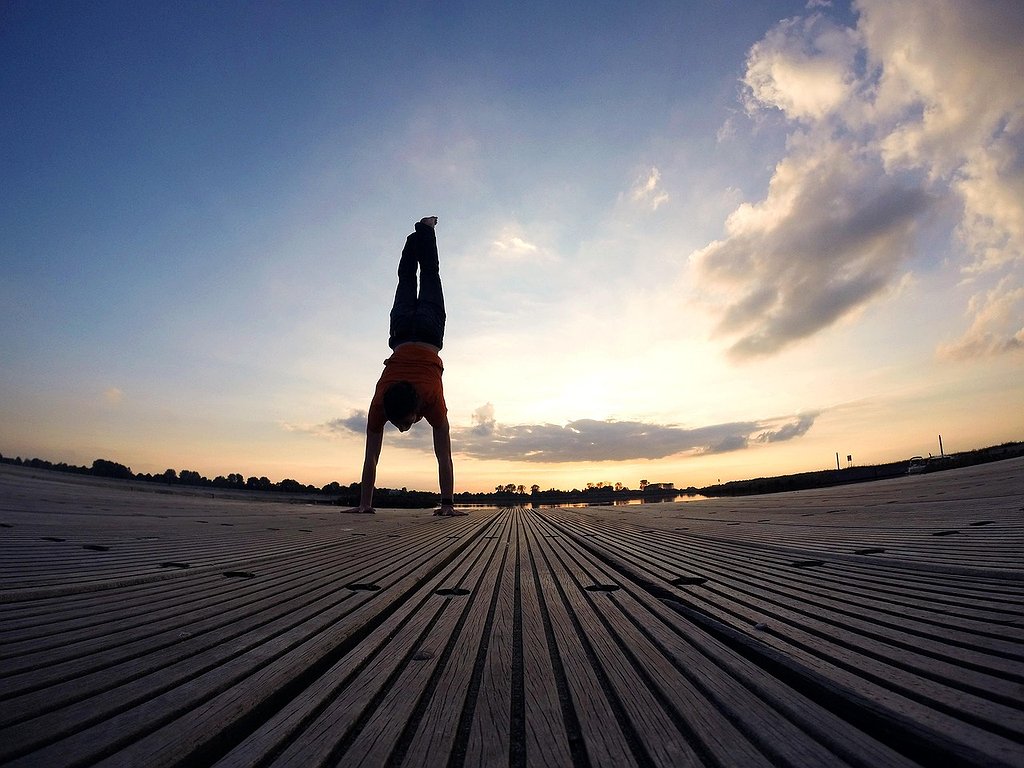
How to Learn a Handstand? A Comprehensive Guide for Beginners
The handstand is considered one of the most impressive bodyweight exercises – it's also fantastic training for core tension, balance, courage, and body awareness. The best part: you don't have to be a gymnastics pro to learn it. With the right steps, anyone can build a stable handstand.
Many people practice with trainers, tutorials, or together with friends – some even use platforms like Skill Tandem to find training partners who share similar goals.
1. Mobility and Warm-up: The Foundation for a Safe Handstand
Before going inverted, you should properly prepare your shoulders, wrists, and core. A strong, mobile foundation protects you from injuries and improves your balance.
Recommended Warm-up Exercises:
- Wrist circles – 20–30 seconds per direction
- Shoulder openers (arms overhead, gentle stretch)
- Cat-Cow movement for the spine
- Plank hold – 20–40 seconds to activate the core
A good handstand is 50% technique and 50% core tension – and that starts with the warm-up.
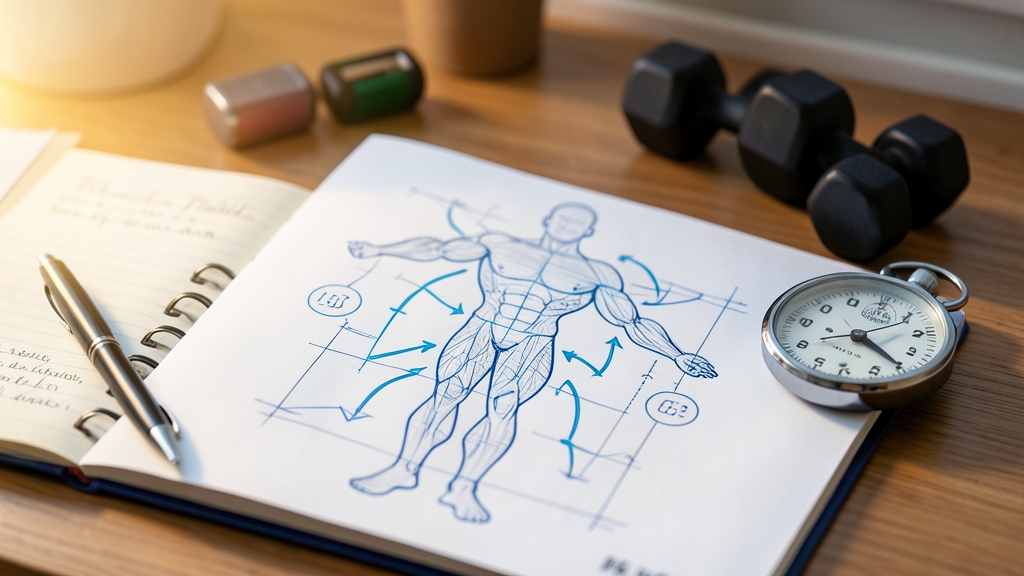
2. Understanding the Correct Handstand Technique
A stable handstand looks elegant because the technique is right. The better you understand the basic principles, the less strength you'll need.
Key Technical Points:
- Straight arms: They are your “framework.” Do not bend them!
- Active shoulders: Gently push shoulders upwards to keep the body stable.
- Straight core: Activate abs and back, avoid an arched lower back.
- Straight legs and pointed toes: This lengthens your line and aids balance.
- Gaze on the floor: Between your hands, not forward.
Technique is the key to standing safely and relaxed in a handstand long-term.
3. Beginner-Friendly Preparatory Exercises: Build Up Step by Step
No one starts directly in a freestanding handstand. You'll make the best progress with controlled preparatory exercises.
3.1. Upper Body Strengthening
Before you balance on your hands, you need stability:
- Plank – 30–60 seconds
- Hollow Body Hold – 20–40 seconds
- Pike Push-ups – 5–10 repetitions
These exercises train exactly the muscles you'll need later.
3.2. Handstand at the Wall (Wall Handstand)
The wall is your best friend when training handstands. It provides security and allows you to perfect your body line.
- Start with a Wall Walk (walking your feet up the wall).
- Make sure to tuck your ribs in and lengthen your body.
- Hold the handstand for 10–20 seconds initially.
Your goal: at least 30–40 seconds of stable wall handstand.
3.3. Handstand Kicks (Kick-ups)
This exercise slowly moves you towards a freestanding handstand. The goal isn't to hold it immediately, but to find your balance.
- Place hands shoulder-width apart on the floor.
- Kick up with the back leg in a controlled manner.
- Catch yourself with your fingers (instead of falling over).
Over time, your body will develop the necessary feel for balance.
4. Learning Balance: The Difference Between “Holding” and “Standing”
Balance in a handstand primarily works through your fingers. They act like small brakes that control your equilibrium.
How to control your handstand:
- Too far forward? Press your fingers into the ground.
- Too far backward? Shift more weight onto the heel of your hand.
- Unstable? Brace your core and straighten your legs.
Remember: Balance feels unfamiliar at first. That's normal – and it improves quickly.
5. Common Handstand Mistakes – and How to Avoid Them
Many beginners make similar mistakes. If you know them, you'll progress faster.
- Arched lower back (Hohlkreuz) – ribs point forward; Solution: activate core
- Insufficient shoulder activity – arms become unstable; Solution: push shoulders up
- Looking forward – leads to instability; Solution: gaze between your hands
- Too much momentum – makes balance difficult; Solution: small kick-ups
Correct technique beats brute strength – always.
6. Training Plan: Achieve a Stable Handstand in 4–8 Weeks
With regular training, you can see significant progress in just a few weeks.
Example Training Plan (3× per week):
- 5 minutes wrist & shoulder warm-up
- 3× 20–30 seconds Plank
- 2× 20 seconds Hollow Hold
- 5–8 Pike Push-ups
- 3× 20–40 seconds Handstand at the wall
- 5× light Kick-ups
What's crucial isn't perfection, but continuous repetition.
7. Safety: How to Practice Without Injury Risk
A handstand looks spectacular, but with the right preparation, it's safe and controllable.
- Practice initially on a mat or grass
- Use a wall for stability
- Train in small steps
- Listen to your body – don't ignore pain
And don't worry: falling is part of the process. Just learn to roll out safely, and you'll quickly lose your fear.
Conclusion: Anyone Can Learn a Handstand
A handstand is less about brute force and more about technique, patience, and enjoyment of practice. If you train regularly, use good preparatory exercises, and gradually approach balance step by step, you will quickly see progress.
And most importantly: stay playful! A handstand isn't just an exercise – it's a moment of courage, balance, and a whole new perspective.
FAQ: Frequently Asked Questions About Handstands
How long does it take to learn a handstand?
Many achieve their first freestanding seconds after 4–8 weeks of consistent training.
Do I need a lot of strength for a handstand?
No – moderate strength is sufficient. Technique and core tension are much more important.
Is it dangerous to practice handstands?
With a warm-up, wall support, and controlled movements, the risk is very low.


Ich frage mich ob das auch hilft wenn man schon Probleme mit den Handgelenken hat wegen alter Verletzungen.
Hallo J., gute Frage. Ich bin da kein Arzt, aber ich waere vorsichtig mit alten Verletzungen, da sollte man vielleicht lieber einen Profi fragen, bevor man da selbst experimentiert. 🤔